| Deutsch English |
19. Maqueen Mechanic
New TigerJython (Version 2.28) required.
 |
 |
|
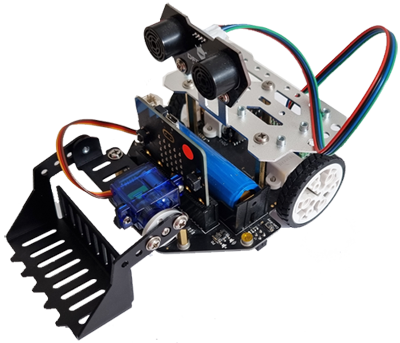
Mechanic Loader |
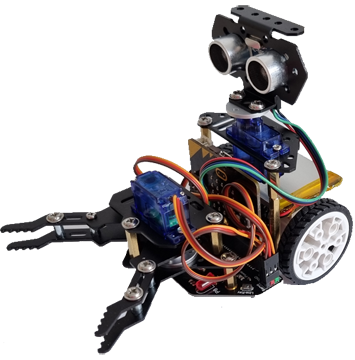
Mechanic Beatle |
The Loader can load and transport small objects. The Beatle can pick up light objects with a gripper arm and move them to any desired location. The required components with a servo motor can be ordered individually (Maqueen Mechanics Loader, Maqueen Mechanic Beatle) or in a kit (Maqueen Mechanics Roboter-Kit). The servomotor is connected to port S1 or S2 of the Maqueen 4 or Maqueen Plus. The older Maqueen model does not have such an S interface.
|
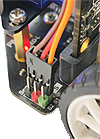 |
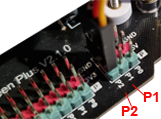
On the Maqueen Plus V2, the servomotors are connected to port P1 or P2. These are located at the rear right of the chassis. In the programme, the servo ports must be called up in the setServo() command with P1 or P2 (instead of S1 or S2)..
|
 |
Mechanic Loader |
The loader can be assembled according to the following construction plan: Construction Loader
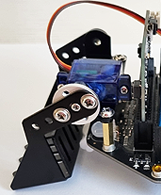
Beispiel 1: Move loader with servomotor The servomotor is moved with the command setServer(port, angle). Execute the programme below with different angles to find out for which value the blade is in the initial position (bottom). The angles depend on the position in which the servomotor was before the blade was screwed on. |
 |
from mbrobot_plus import *
#from mbrobot import*

setServo("S1", 160)
delay(2000)
setServo("S1", 100)
delay(2000)
setServo("S1", 160)
Explanations of the program code:
| setServer("S1", 160) The servomotor is connected to port S1. The second parameter specifies the position of the servomotor. |
Example 2: Position the loader with ultrasonic sensor
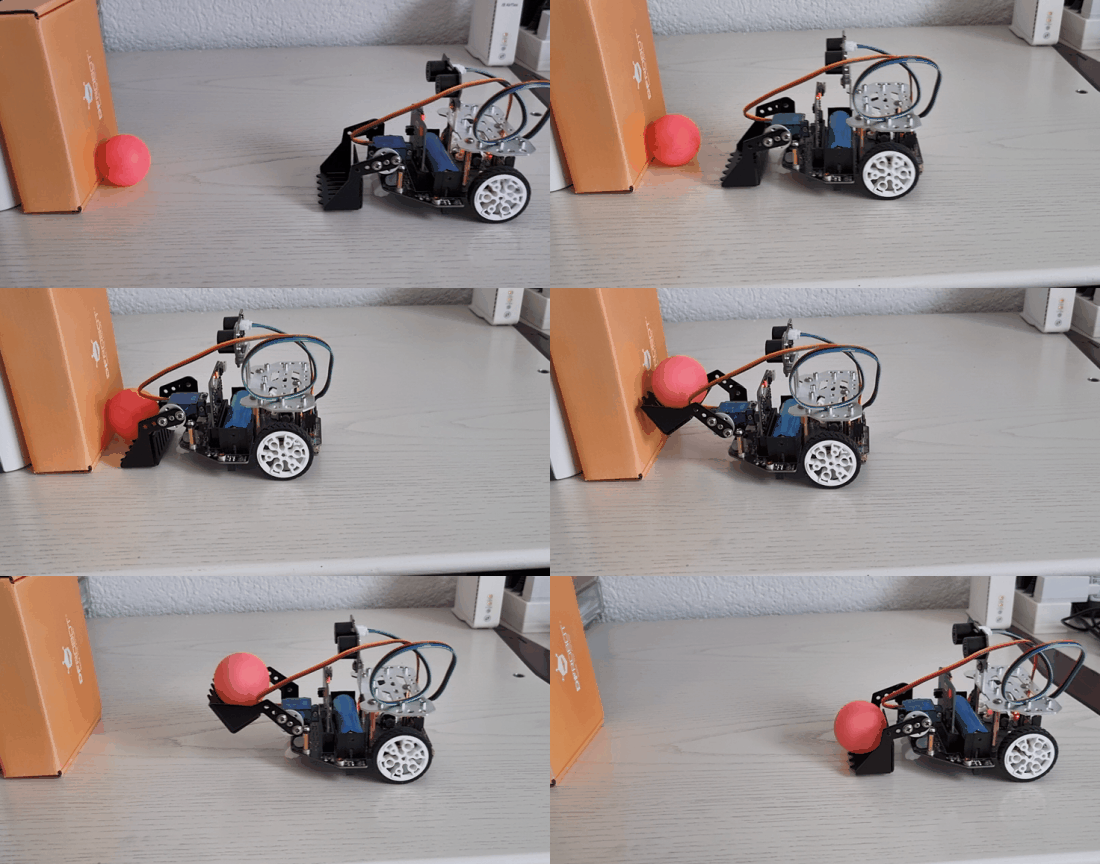
The robot is to load an object that is located near a vertical wall and transport it away. It uses the ultrasonic sensor to measure the distance to the wall.
from mbrobot_plus import *
#from mbrobot import *

setServo("S1", 160)
setSpeed(20)
forward()
repeat:
    d = getDistance()
    print(d)
    if d < 12:
        stop()
        delay(1000)
        setServo("S1", 100)
        setSpeed(20)
        backward()
        delay(4000)
        stop()
        setServo("S1", 160)
    delay(100)
Explanations of the program code:
| d = getDistance() The distance to the wall is measured in an "endless" loop. | |
| setServo("S1", 100) Picks up the object. |
Mechanic Beatle |
The gripper arm can be assembled according to the following instructions: Construction Beatle
Example 3: Grasp object The robot moves to the object located a short distance in front of it, grabs it with its gripper arm, moves back a short distance, turns to the left and places the object in the new location (similar to the video below). 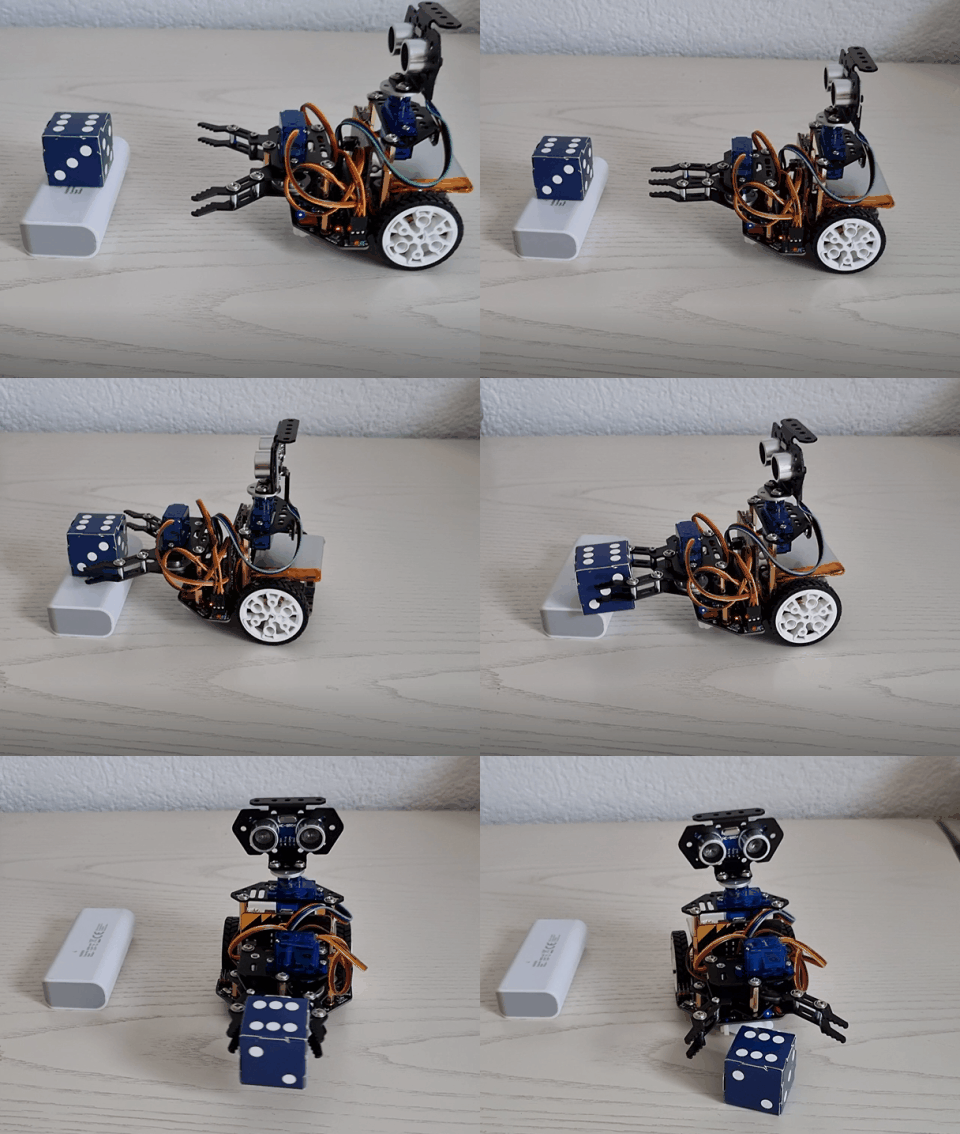 |
from mbrobot import *
#from mbrobot_plus import *

setServo("S1", 95)
delay(1000)
setServo("S1", 60)
forward()
delay(1000)
stop()
setServo("S1", 95)
backward()
delay(500)
left()
delay(700)
stop()
setServo("S1", 60)
Explanations of the program code:
| setServer("S1", 60) The gripper arm should be in the open position. This angle may need to be adjusted. Depending on the size of the object, the angle 95° must also be adjusted. |
Example 4: Positioning the gripper arm with an ultrasonic sensor
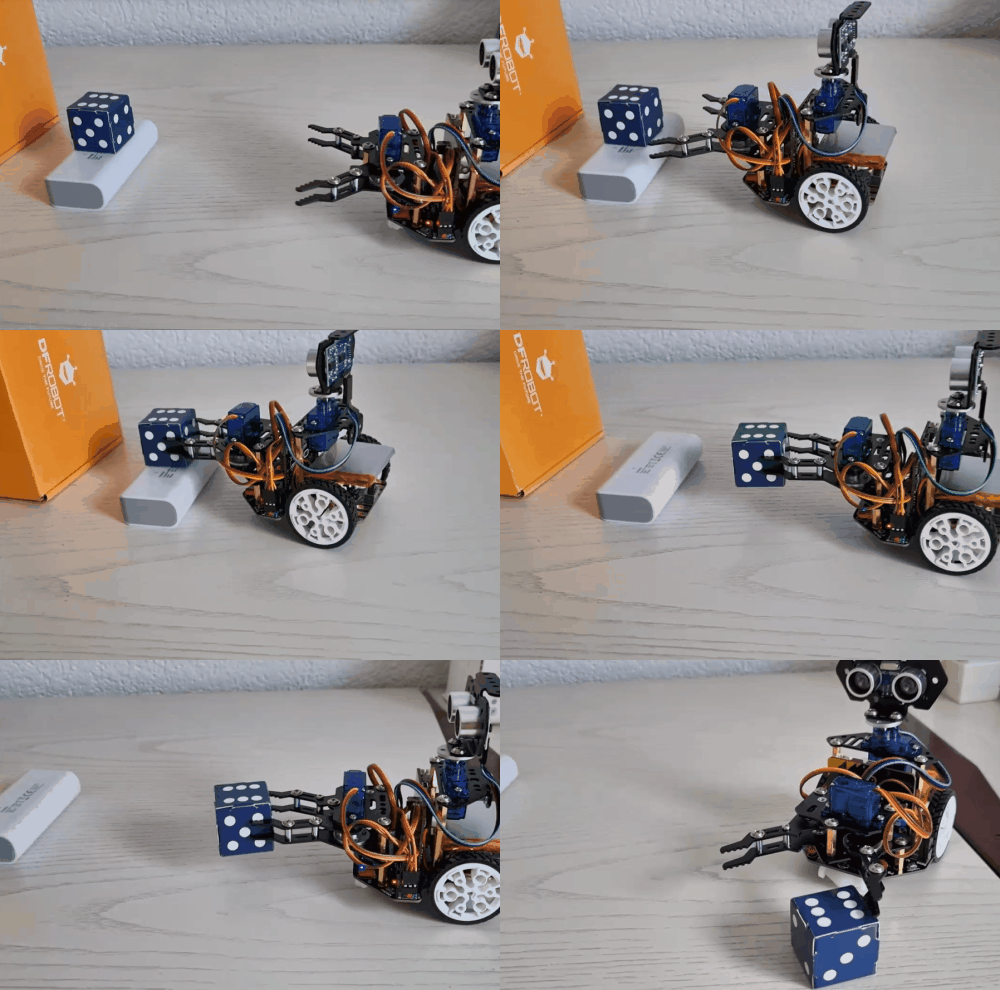
The robot is to load an object that is located near a vertical wall and transport it away. It uses the ultrasonic sensor to measure the distance to the wall.
from mbrobot import *
#from mbrobot_plus import *

setServo("S1", 60)
forward()
repeat:
    d = getDistance()
    print(d)
    if d < 20:
        stop()
        delay(500)
        setServo("S1", 95)
        delay(500)
        backward()
        delay(2500)
        left()
        delay(700)
        stop()
        setServo("S1", 60)
    delay(100)
Explanations of the program code:
| getDistance() Measures the distance to the wall every 100 milliseconds |
Example 5: Turn ultrasonic sensor with servomotor
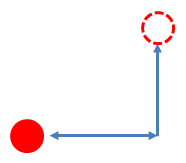
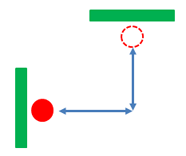
The ultrasonic sensor can be moved with a second servomotor. This is connected to port S2. The rotating ultrasonic sensor can be used to search for objects (task 3) or to follow a wall at a certain distance (task 4).
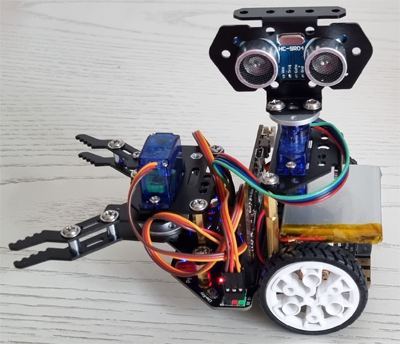
The ultrasonic sensor is rotated at right angles from a frontal position. First in one step and then in small steps.
from mbrobot import *
#from mbrobot_plus import *

setServo("S2", 90)
delay(2000)
setServo("S2", 0)
delay(2000)
setServo("S2", 90)
delay(2000)

angle = 90
while angle >= 0:
    setServo("S2", angle)
    delay(500)
    angle = angle - 10

angle = 0
while angle <= 90:
    setServo("S2", angle)
    delay(500)
    angle = angle + 10
Explanations of the program code:
| setServo("S2", 90) Turn the servomotor so that the ultrasonic sensor is in the frontal position. If this is not the case, you can adjust the angle or unscrew the sensor short and place the round base so that the sensor can then be screwed on exactly frontally. | |
| setServo("S2", 0) bzw. setServo("S2", 180) Turns the sensor parallel to the direction of travel. |
| Exercises: |
1) |
|
 |
2) |
|
 |
3) |
|
4) |
|
